This project was based on this post.
Someone I care about has their birthday coming up and what better way to save 8 euros on a gift than by spending 30 on new tools so you can DIY it instead. Oh, but we can make it sustainably.
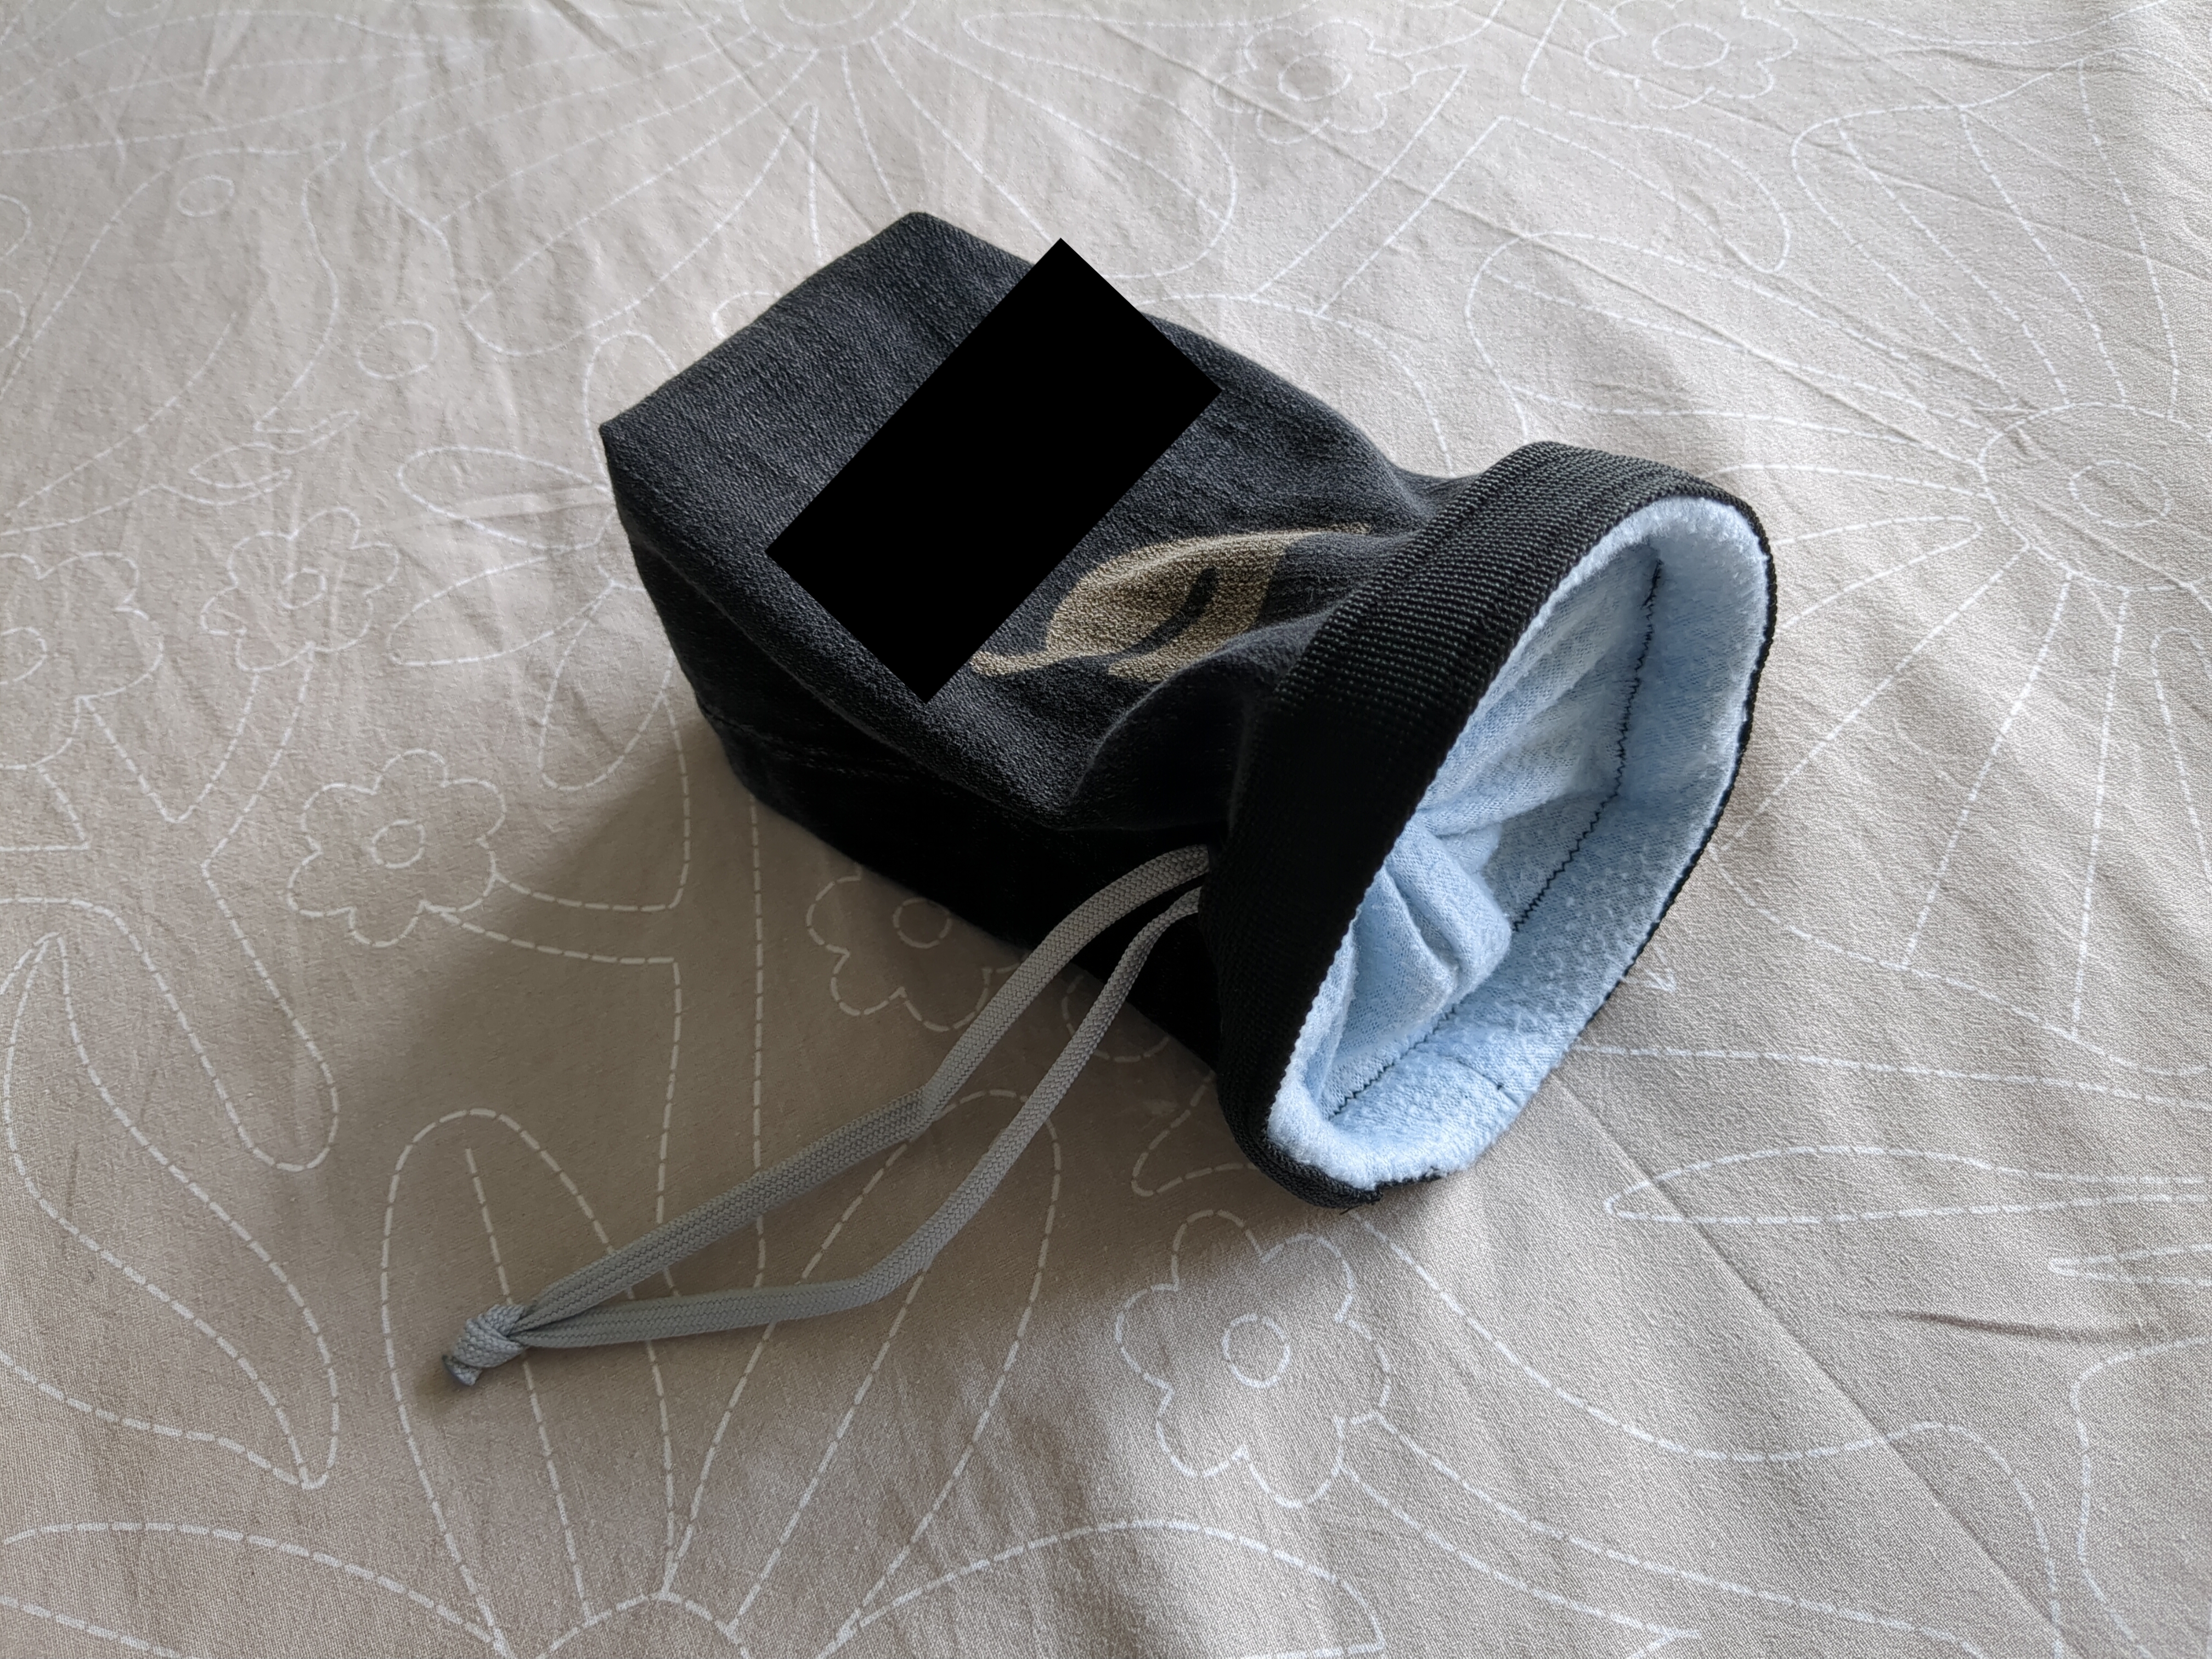
The person in question says that they want to start bouldering (they have been for a while, seeing is believing) so I figured that a chalk bag would make a great gift. I had some scrap fabric laying around so this all clicked together perfectly. An old pair of jeans with an unrepairable hole in the crotch would make up the outer shell, and an old airplane fleece blanket would serve as the lining.
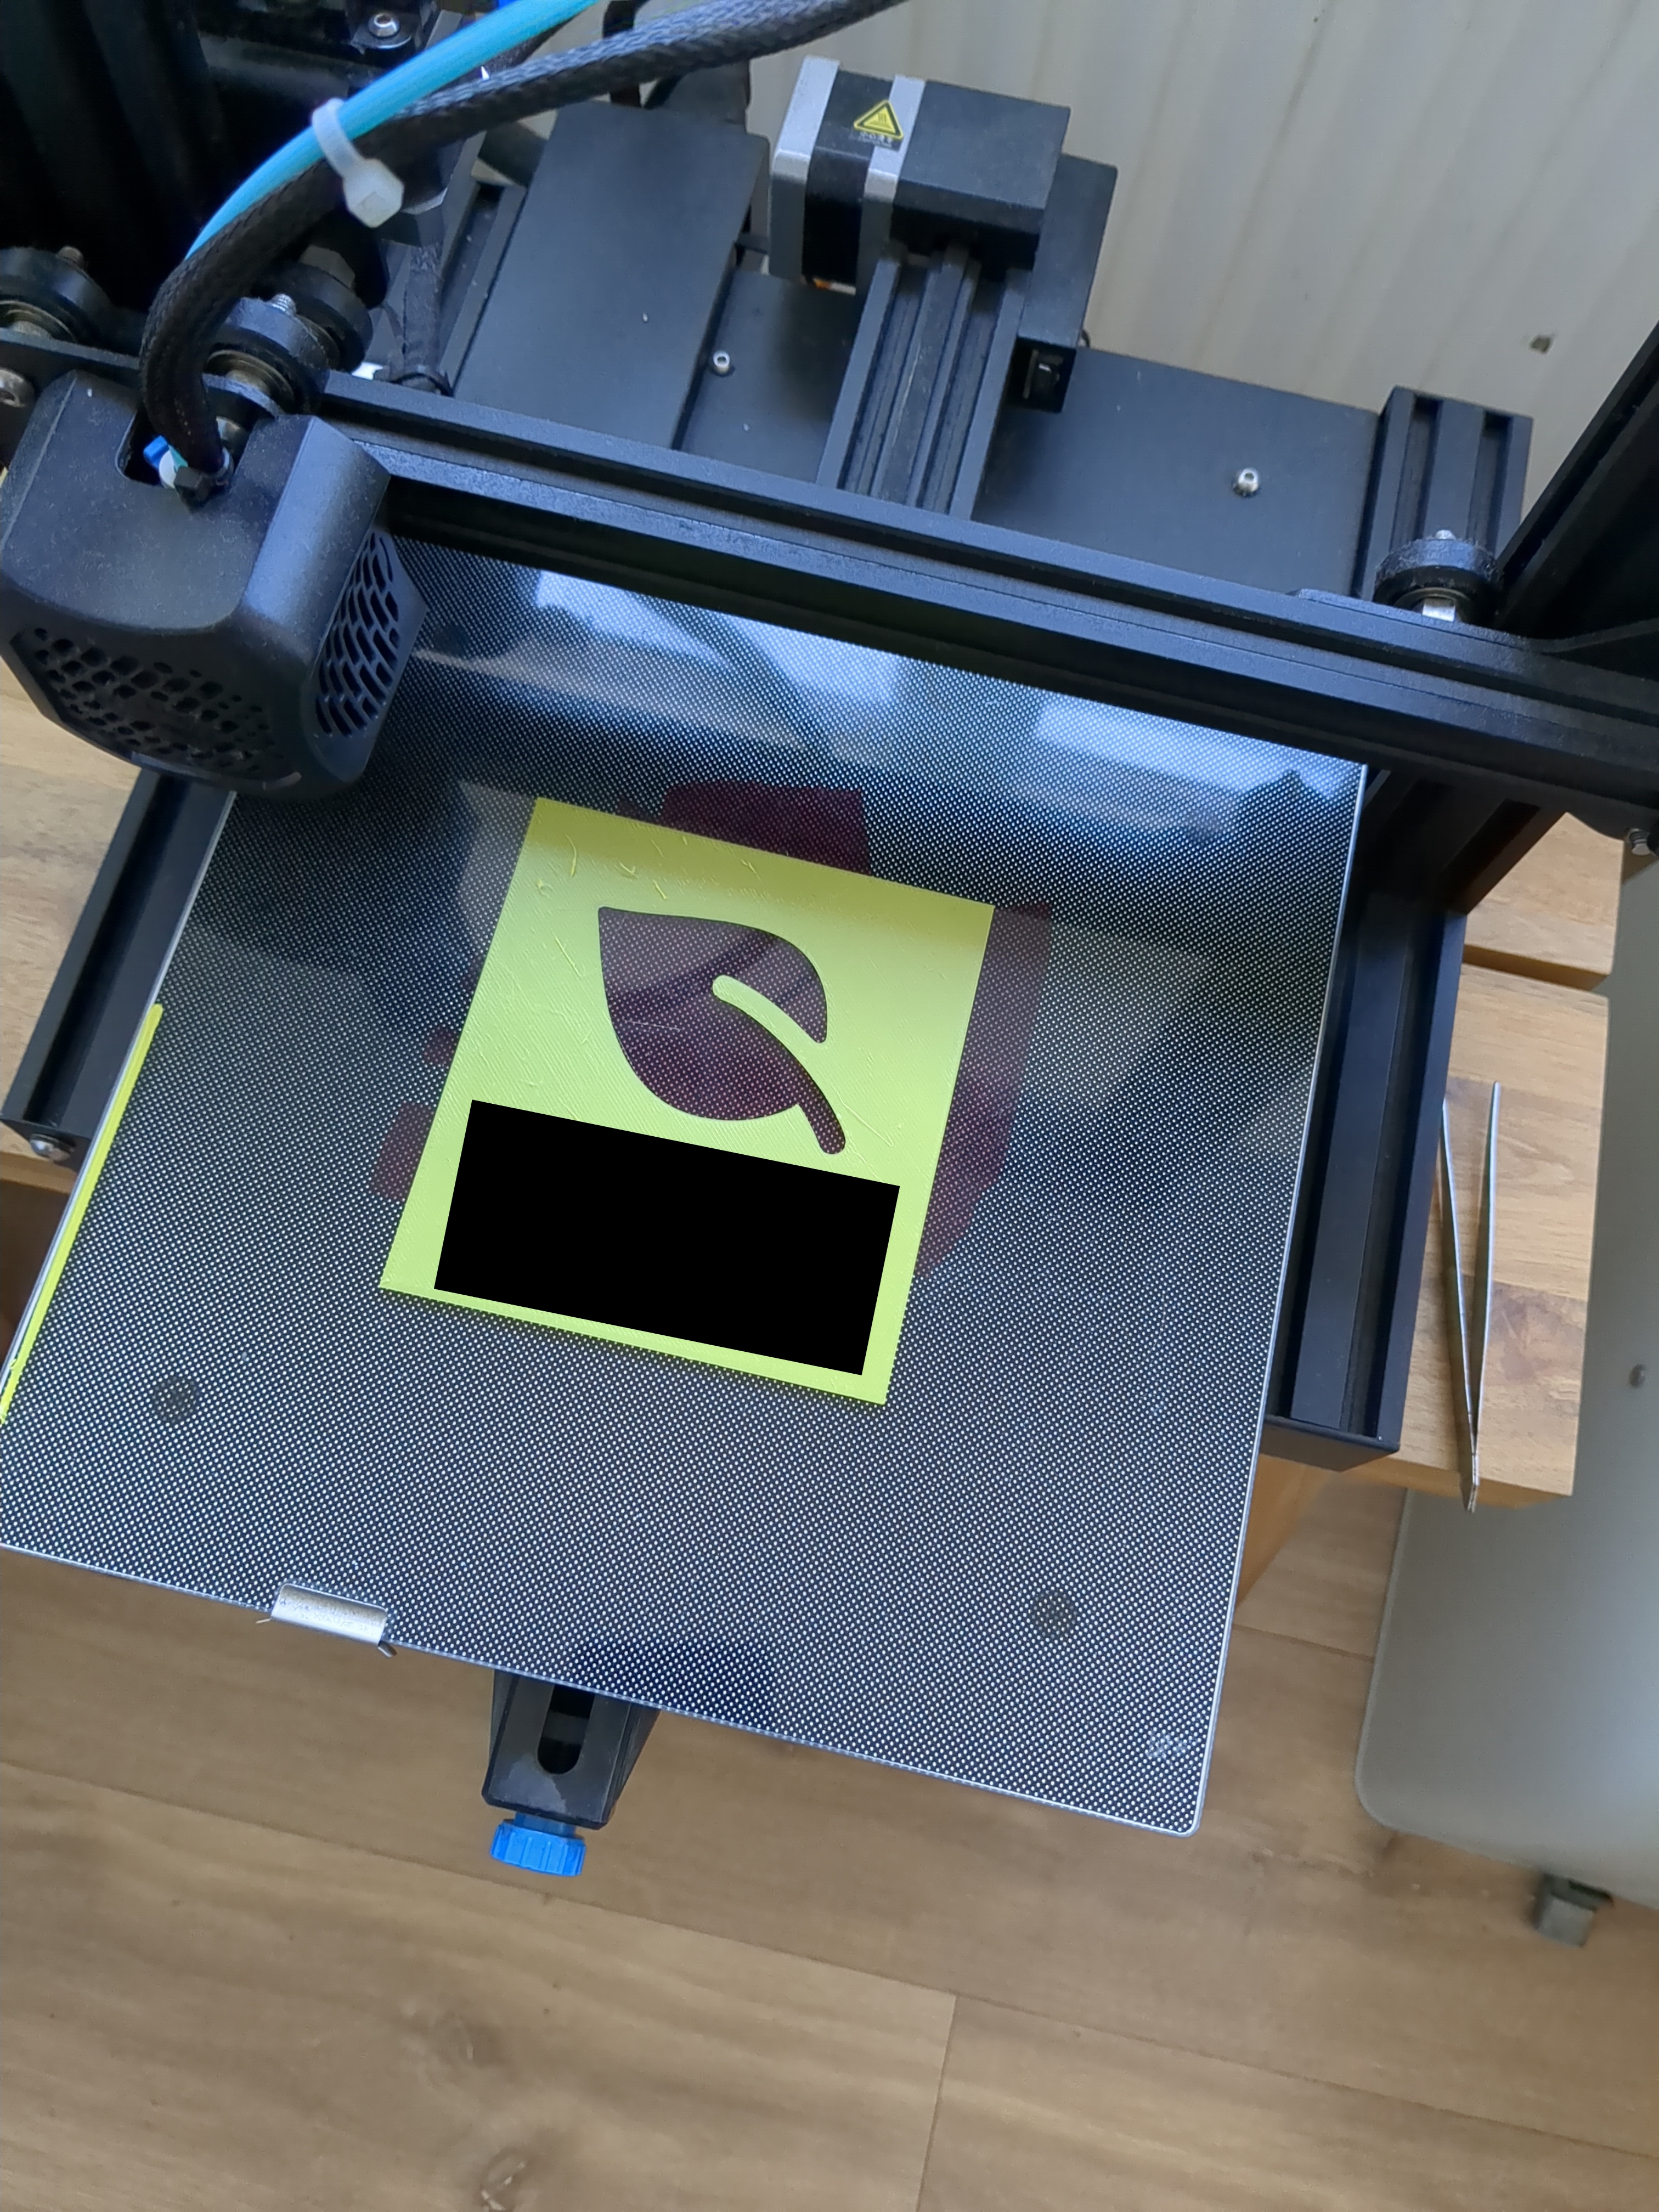
I did make some alterations to the design this was based on. First of all, I figured keeping a leg of the pants intact would save some work and make the bag more recognizable as upcycled pants. I also decided to add a little design to it using my signature method of bleaching with 3d printed stencils.
I made a small stencil of about 100x100 mm with a leaf and the giftees name:
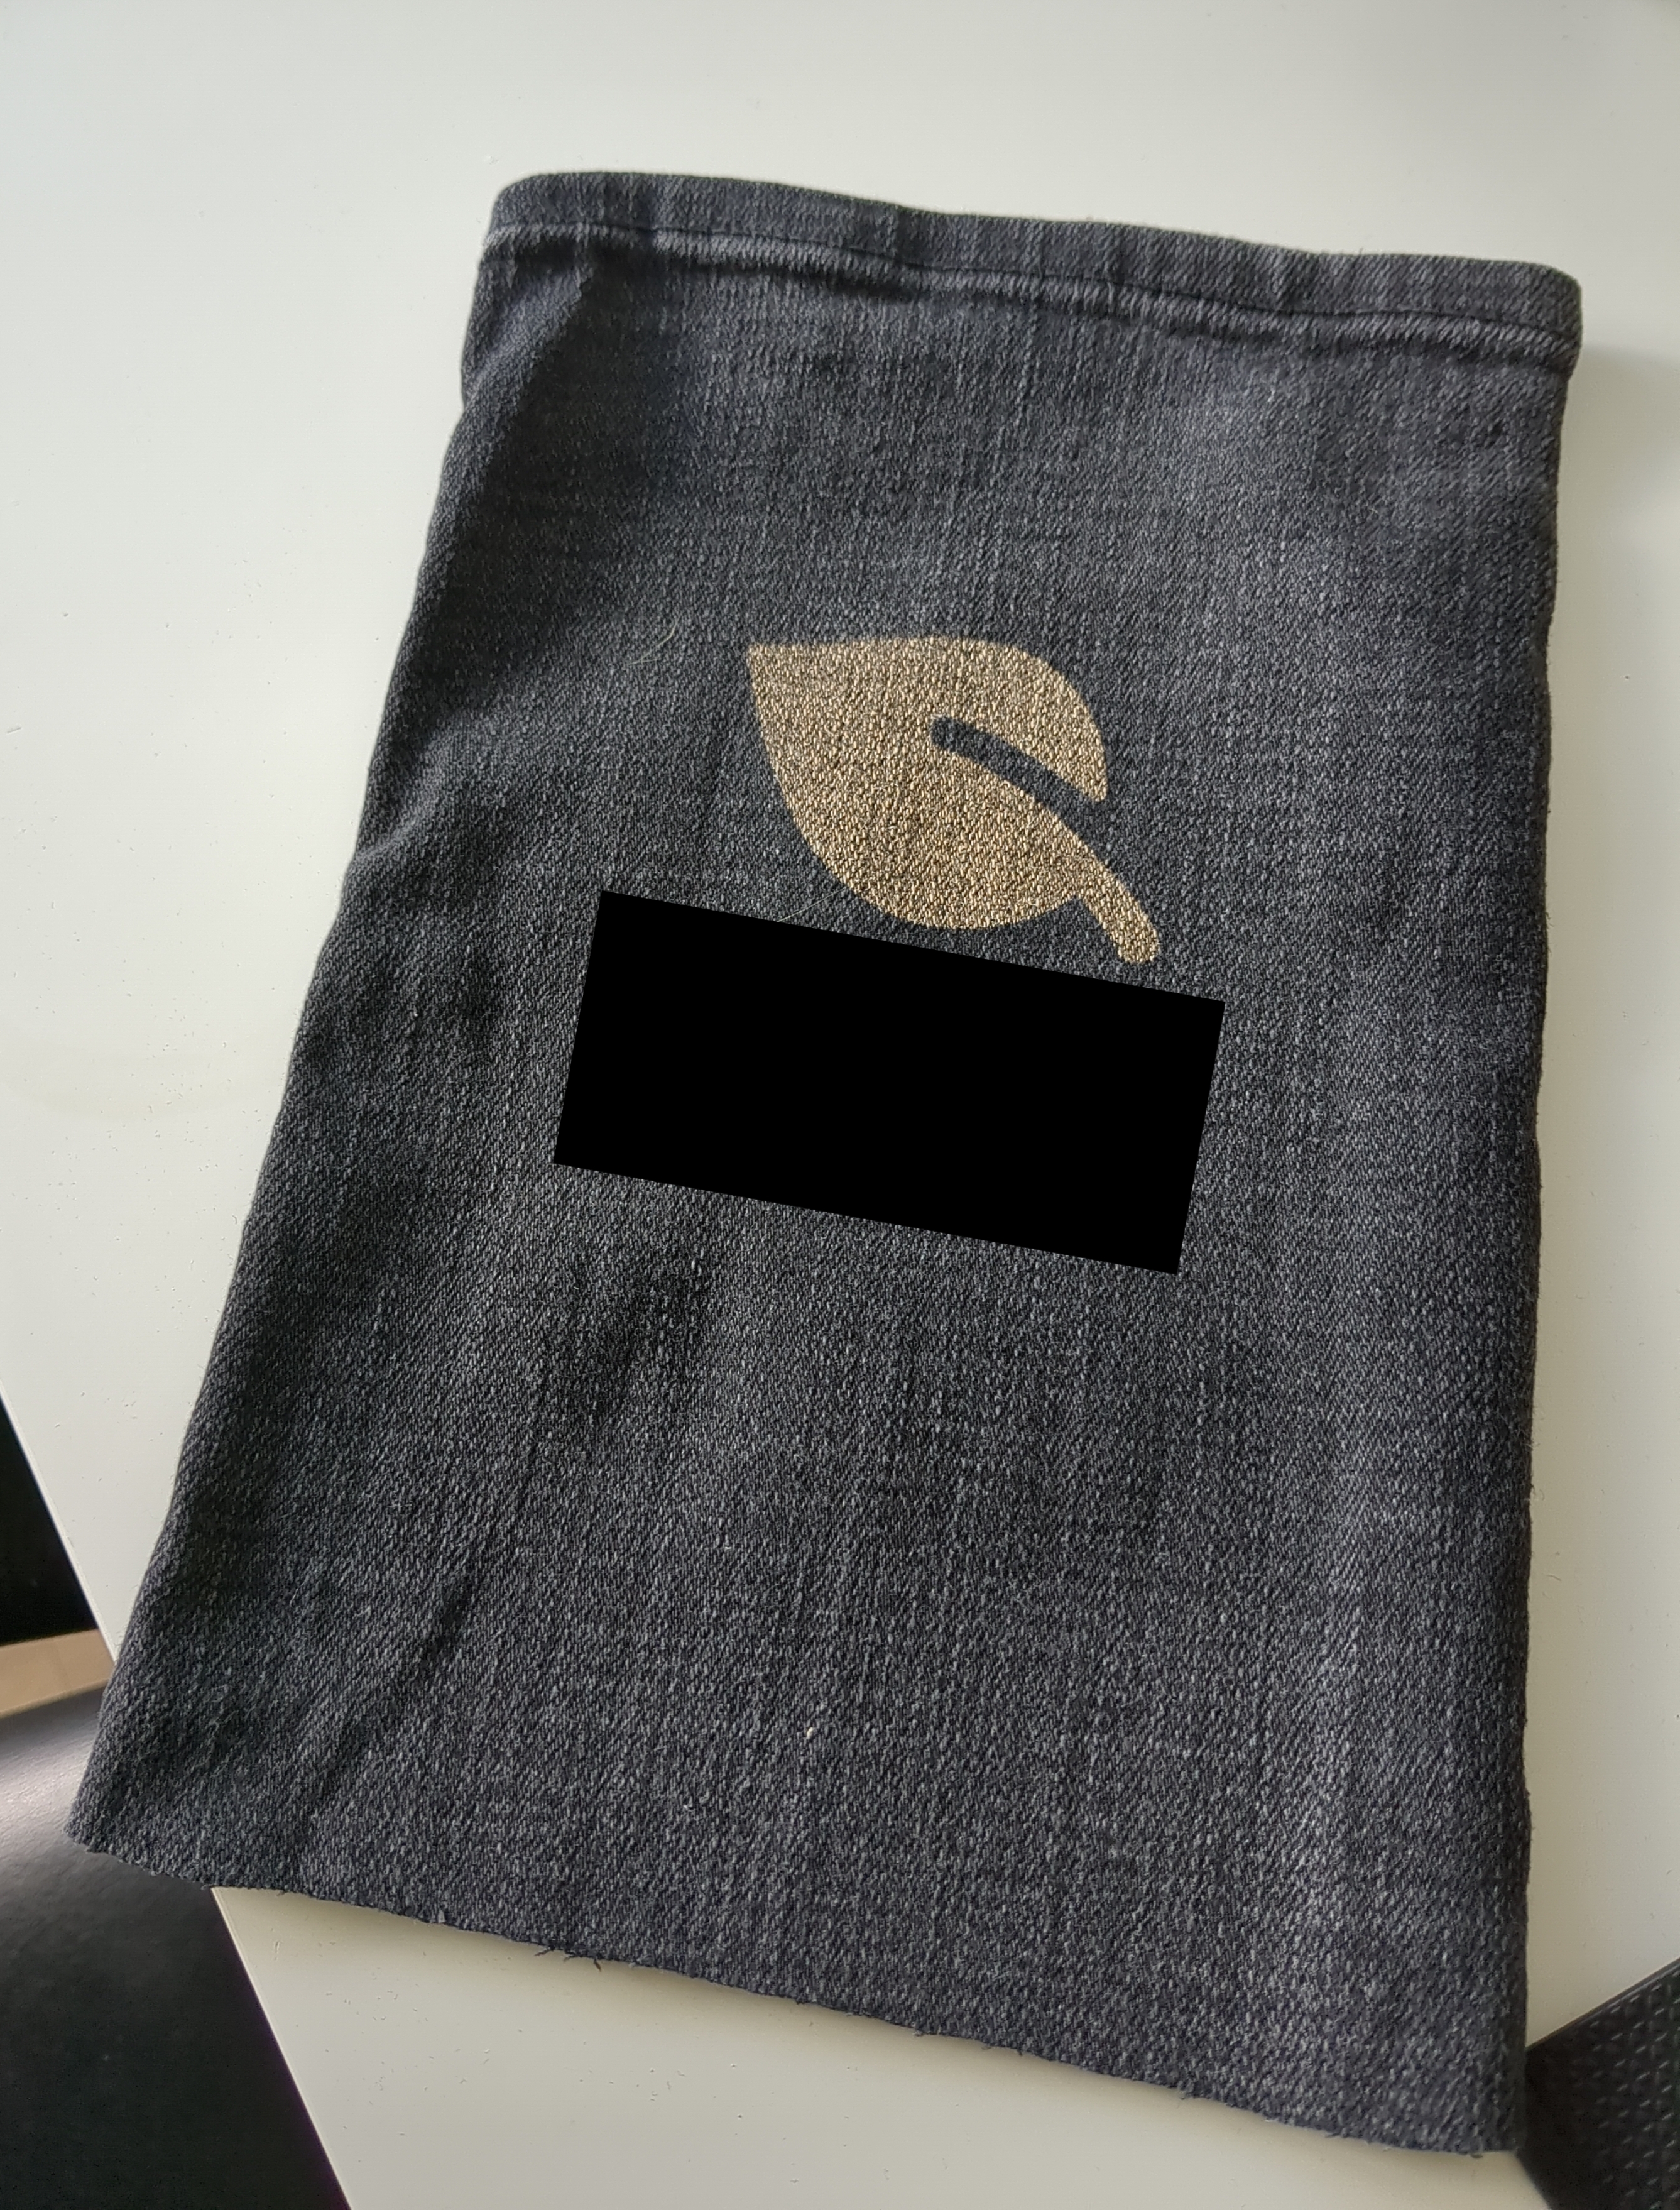
I then transferred the design to the pant leg. This was with about 5 passes of finely misted bleekloog and a lot of waiting.
Now I had to decide where to put the eyelet. The bag had a clear front side, the one with the design. The two panels that made up the loop weren’t of equal size, so I put the design on the bigger one. I put the eyelet on the front panel, towards the top right. I left enough space to allow for folding the hem over, plus the width of the webbing.
From here I started following the original tutorial again. One seam across the side with the raw edge, and two seams perpendicular to it. I made those two 8 cm long each, as my pant leg was a bit wider than the tutorial called for. I figured I’d make the bag a little longer as well, and settled on 24 cm. That felt like a nice number.
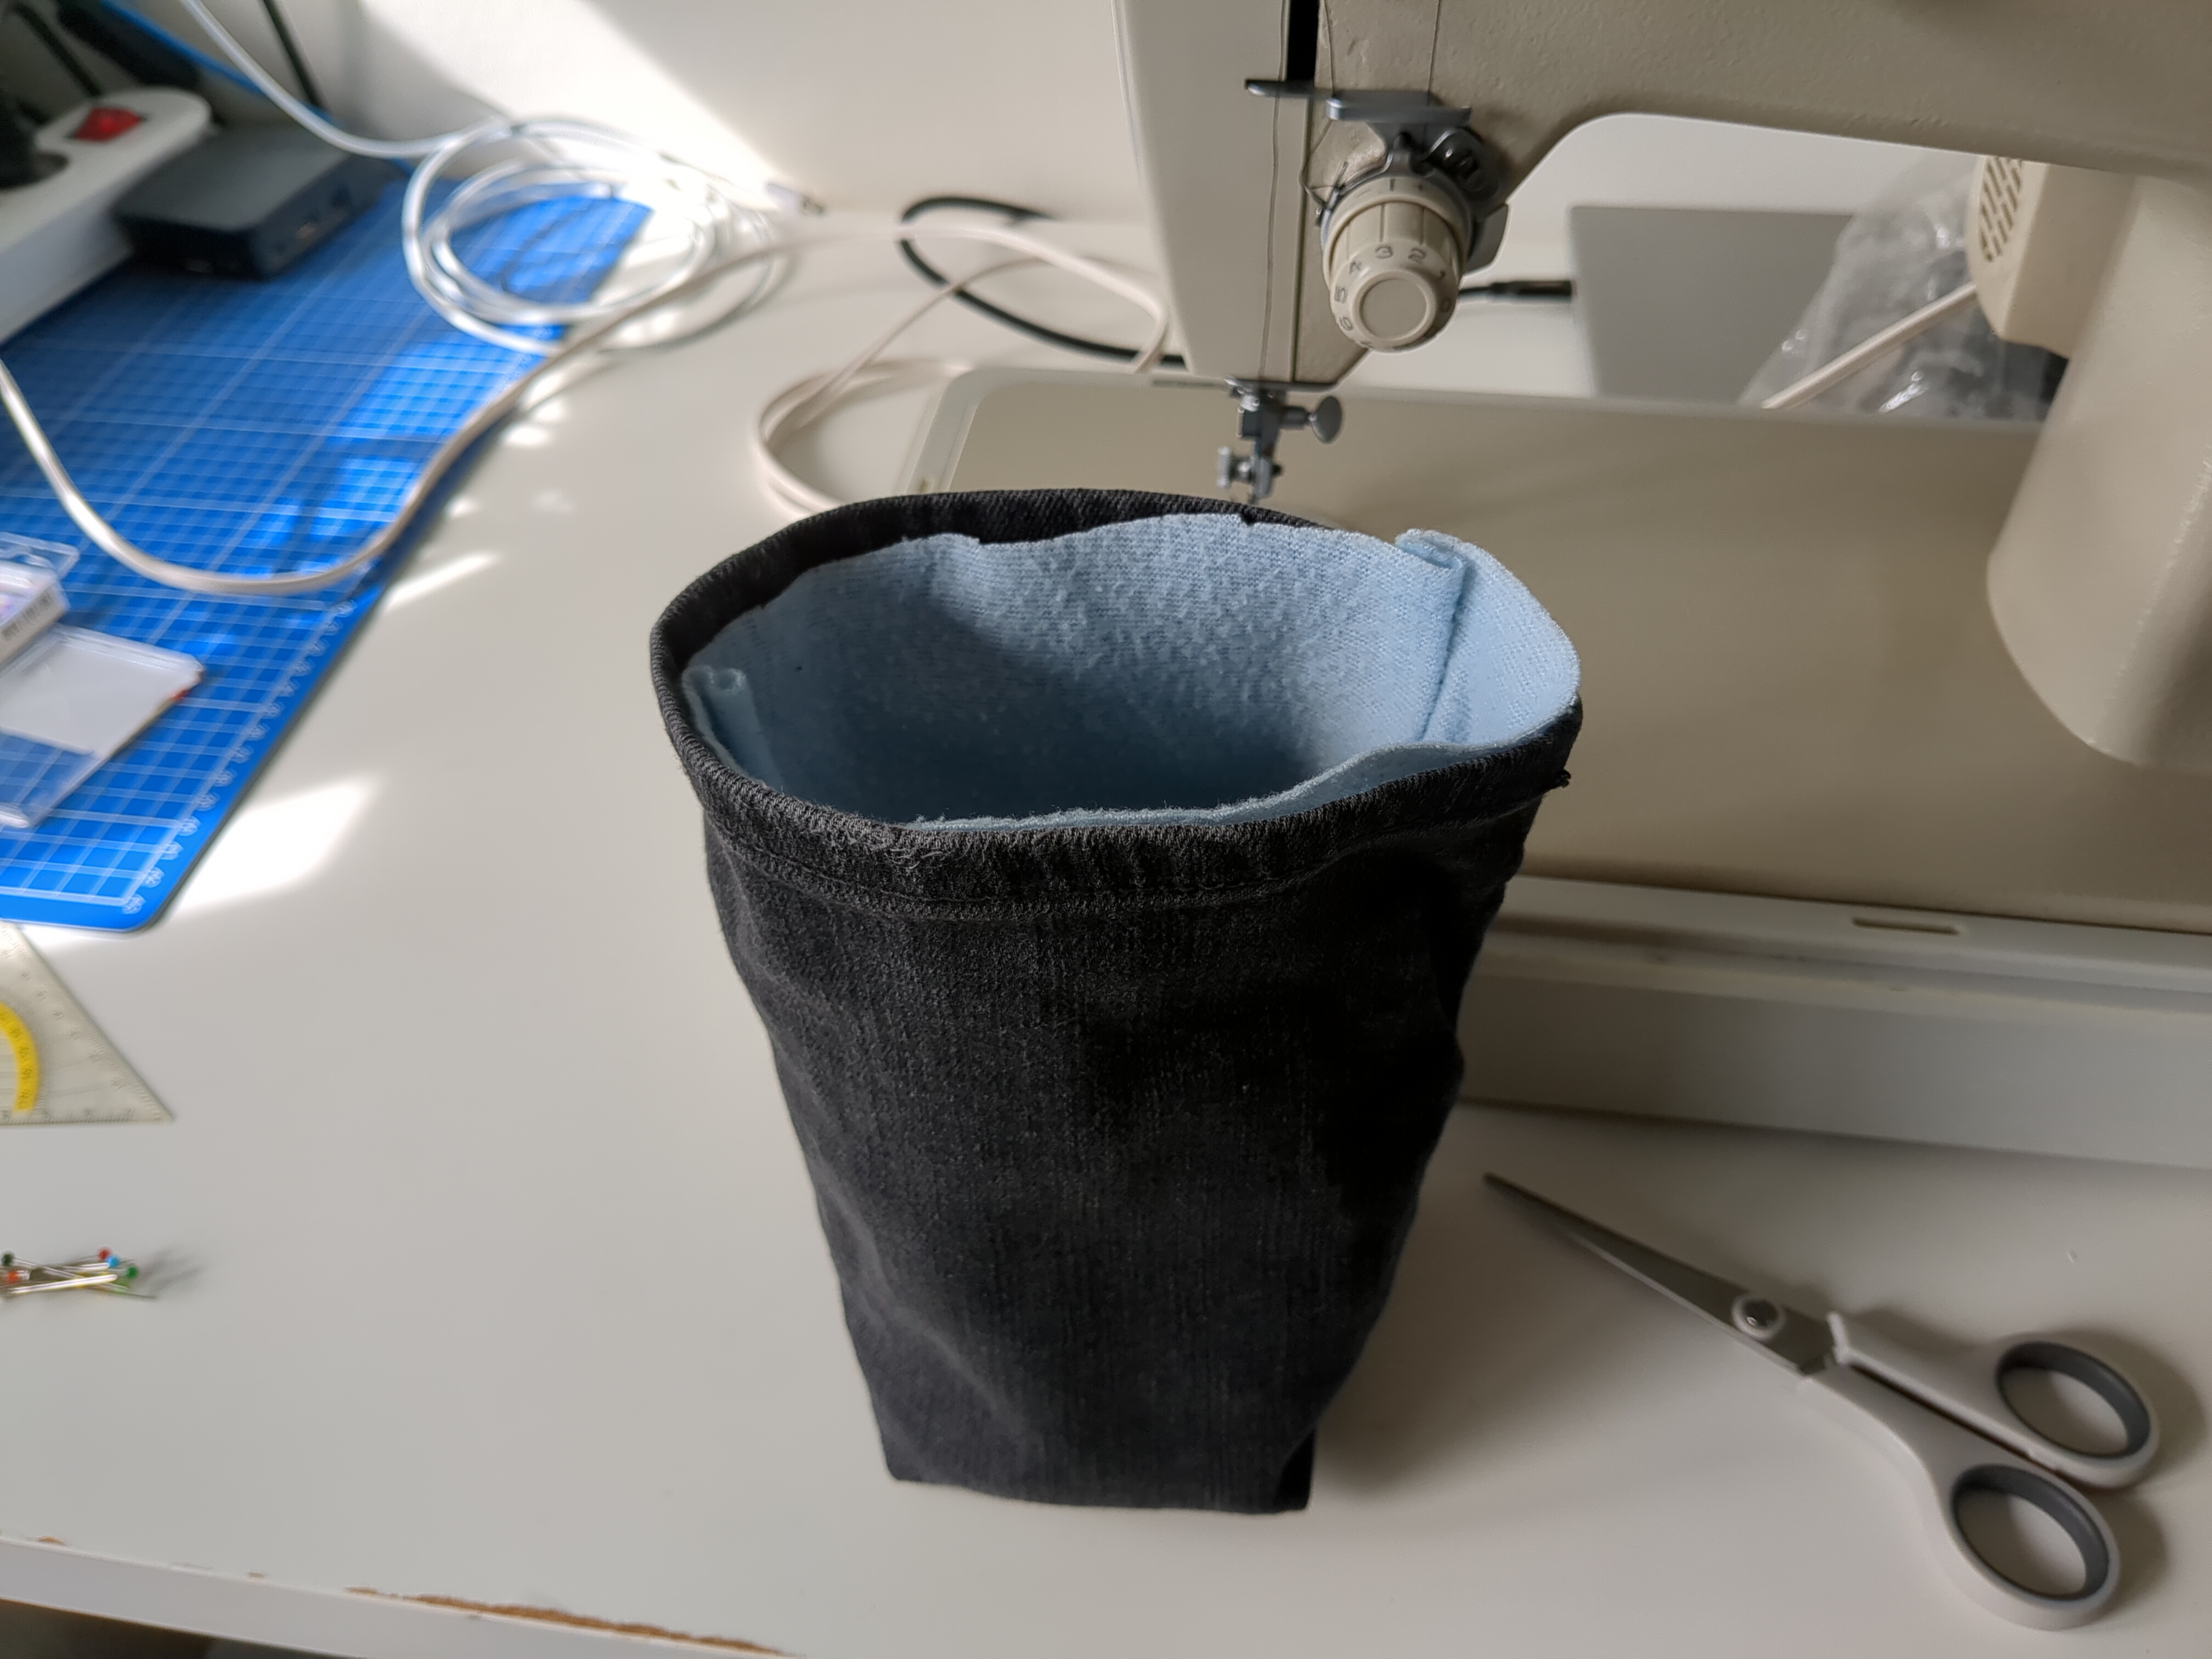
I then cut out a piece of fabric for the lining, going with the aforementioned 24 cm and the width of the pant leg times two, plus seam allowance. This came out to 34 cm.
Three seams and fixing a jammed sewing machine later, it’s a perfect fit:
Now came the fiddly bit. I pinned the webbing, fleece and denim together. Unlike the machine in the orignal post, mine didn’t have a platform that the bag could go around. I was now also coming to the realization that leaving the original hem on would make my life more difficult than it needed to be. My machine went through the many layers of fabric without complaining, but the two points where this seam met the perpendicular seam in the denim were nearly too thick to fit under the presser foot. Aside from the stitch wandering off at the end because I lost focus, it went as well as I could have hoped for.
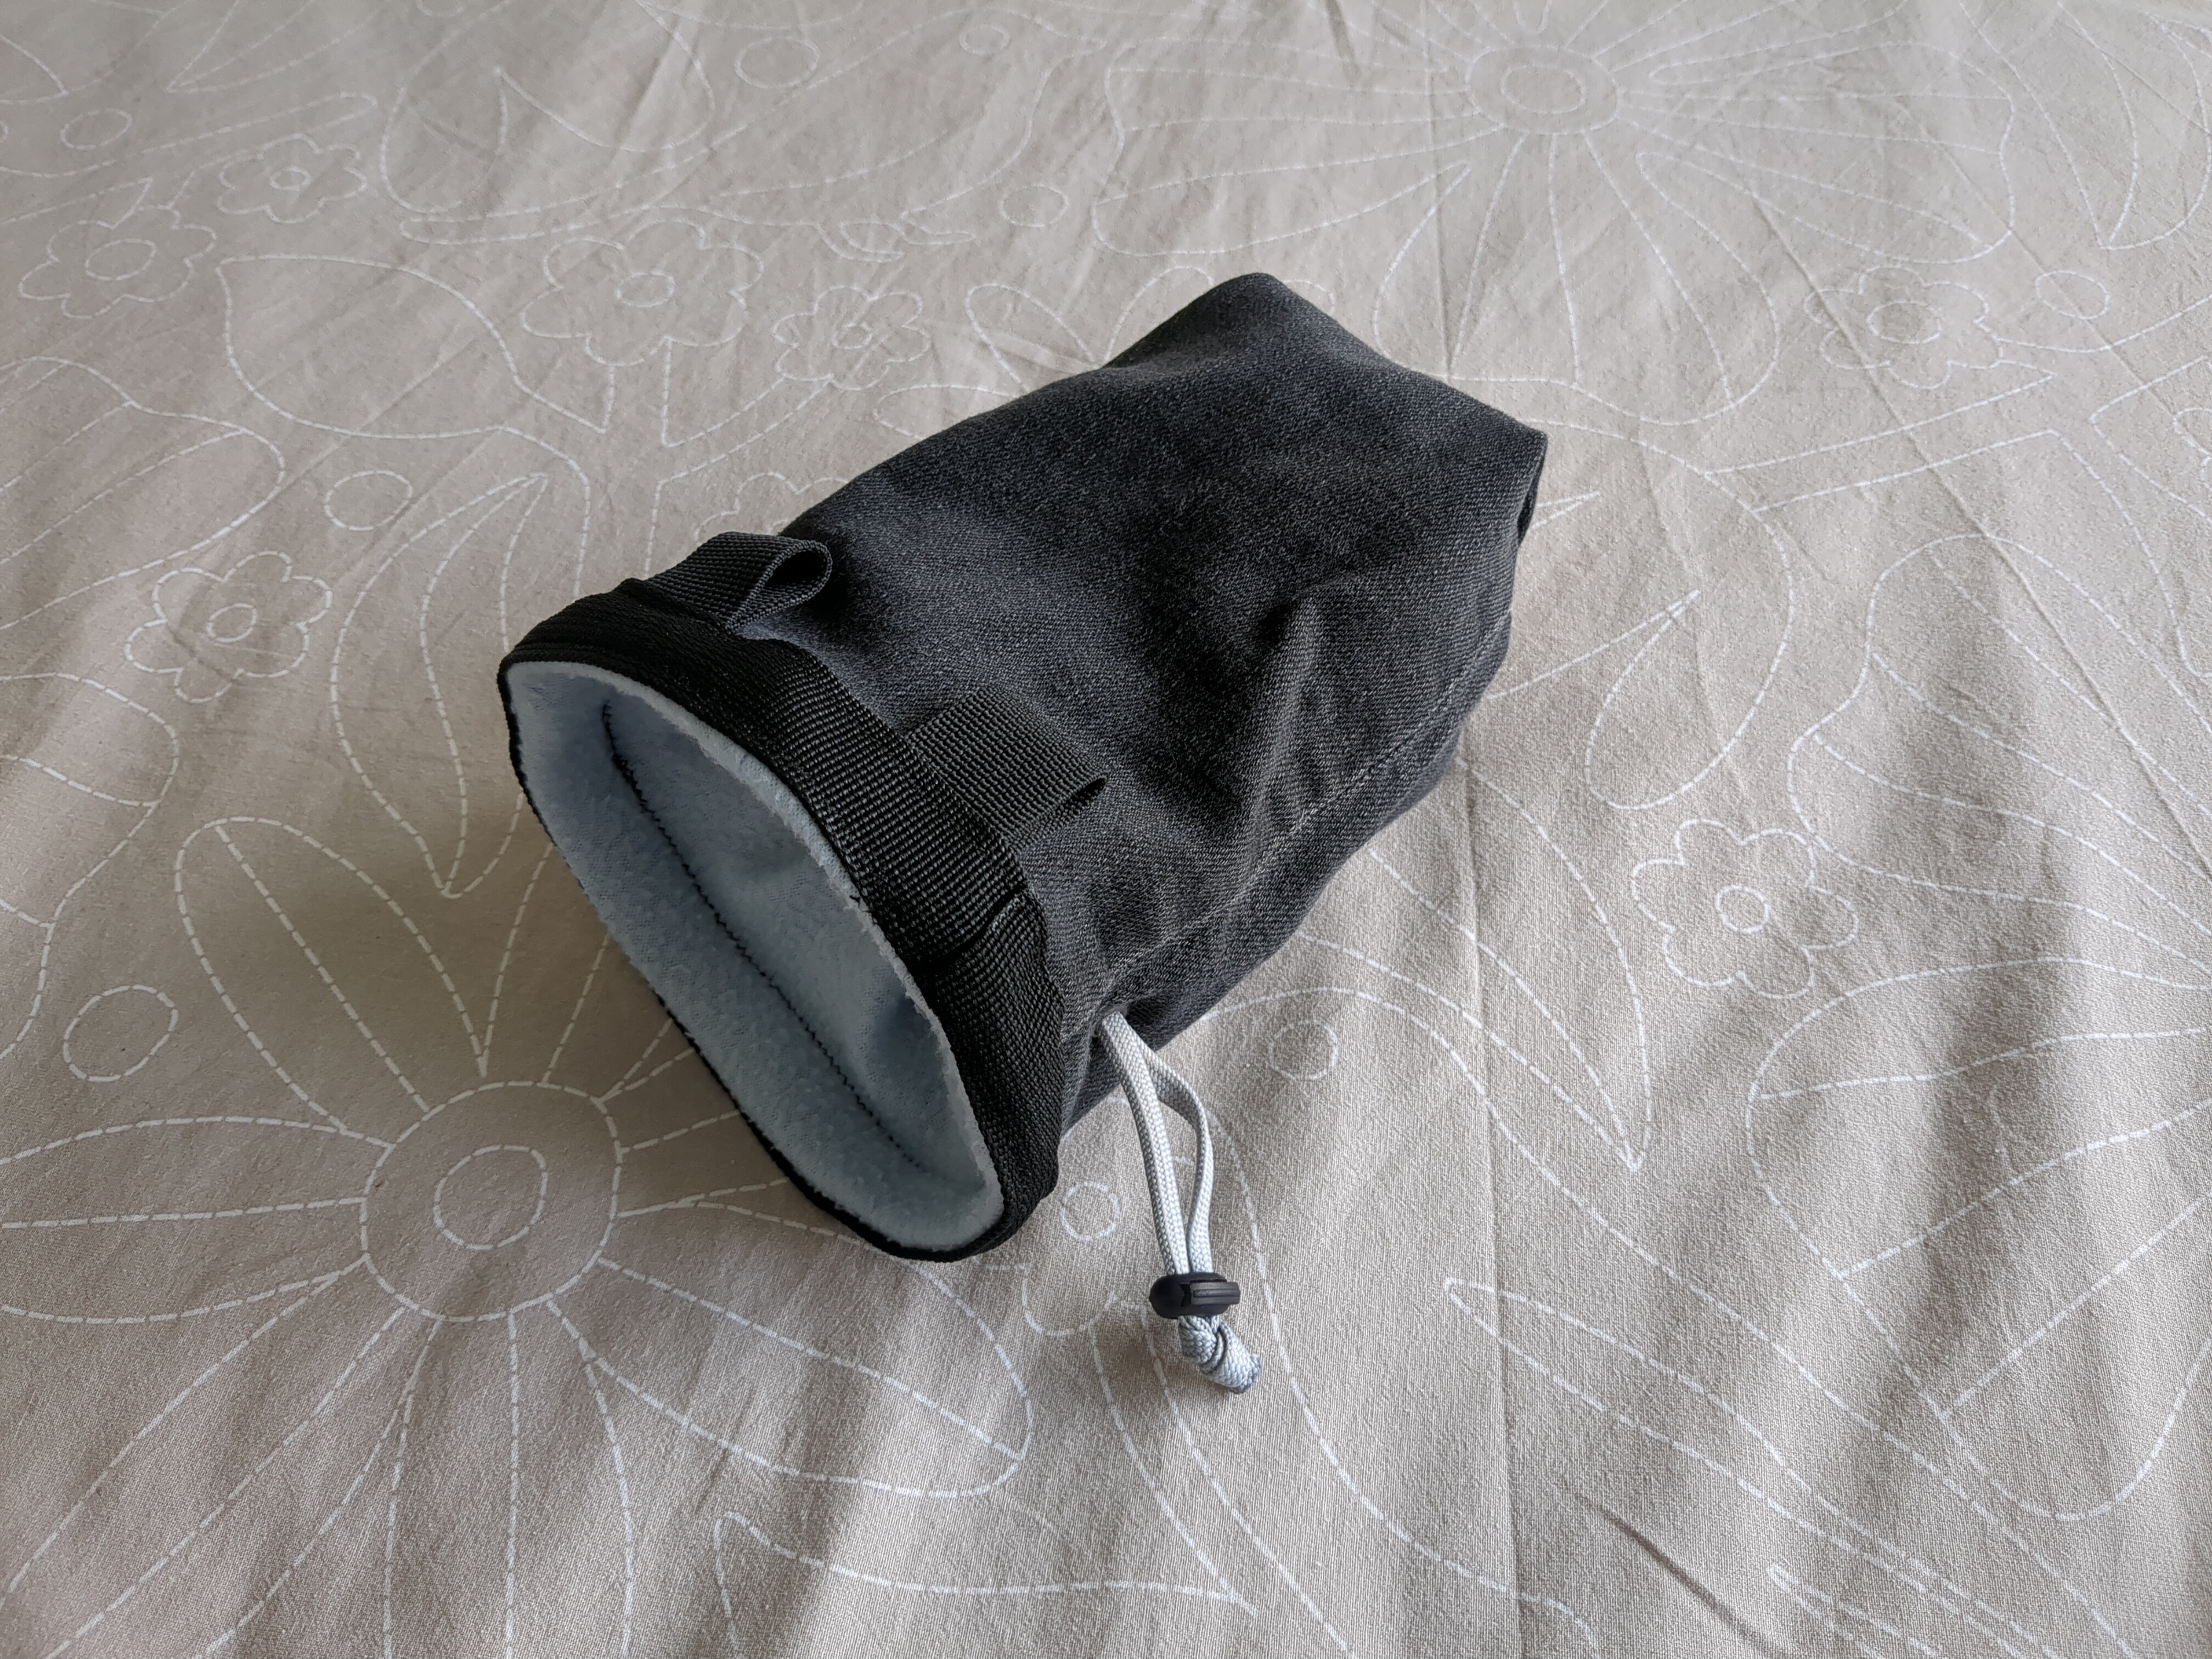
I now cut off two small sections of webbing and sealed them with fire. Folding over the webbing like in the tutorial, the webbing was stitched all the way around and the two loops added underneath, at the back of the bag.
Only now did I thread the shoelace through. Then I tied it off, cut it to length and again used a lighter to seal the ends against the knot.
And that marked the end of the project! a few hours work in total and nearly completely from reclaimed materials.